支付宝 API 向导(Ruby 版)
支付宝是中国互联网最流行的支付渠道,如果你正在搭建面向国内用户的收费应用,支付宝是最合适的支付渠道。
本文是针对个人开发者的支付宝 API 向导。
选择 API
支付宝对应桌面环境支付的收款 API 有3个:
- 担保交易收款 买家付款给支付宝,确认收货后再转帐给卖家。
- 即时到帐收款 买家直接付款给卖家。
- 双功能收款 买家可以在支付时选择担保交易或者即时到帐中的一个。
担保交易是淘宝网用户熟悉的支付手段,申请门槛低,个人开发者可申请,但需要处理发货和退款等操作。
即时到帐适合无需发货的虚拟物品交易,申请门槛高,需要网站 ICP 备案和支付宝企业版帐号。
双功能收款综合以上两种手段,让买家自行选择,要注意的是对于个人开发者申请的接口,买家选择即时交易时需要安装数字证书;并且双功能接口依然需要处理发货和退款操作,因为无法强制买家选择哪个支付手段。
由于即时到帐接口门槛较高,独立开发者不易申请,所以这里只介绍担保交易收款。
官方的 API 文档在 https://b.alipay.com/order/techService.htm ,在实际开发前有必要把自己调用的接口文档浏览一遍。
担保交易支付流程
概括的支付流程如下:
- 用户在商家网站创建订单,商家网站将用户引导(重定向)到支付宝支付页面
- 用户在支付宝页面完成支付
- 支付完成后,用户被重定向回商家网站,这时可以通过访问参数拿到交易信息(同步消息)
- 支付过程中,支付宝会向商家网站发送交易状态的变化信息(异步消息)
- 商家网站要根据支付宝的同步消息或消息信息更新订单状态,完成交易
实际使用中,用户重定向回商家网站时附带的同步消息很可能比异步消息要晚,所以简单起见可以只处理异步消息。如果对同步消息和异步消息都进行处理,要注意避免并发引起的重复处理订单。
异步消息
异步消息包含了交易状态(trade_status),在担保交易中有以下5个状态:
- WAIT_BUYER_PAY
- WAIT_SELLER_SEND_GOODS
- WAIT_BUYER_CONFIRM_GOODS
- TRADE_FINISHED
- TRADE_CLOSED
这5个状态中,1~4是顺序变化,5在任何状态都有可能出现。例如交易超时,或者退款成功时都会变成 TRADE_CLOSED 状态。
异步消息还包含了一个退款状态(refund_status),但由于支付宝没有提供退款流程操作的 API,所以退款流程无法集成到商家网站,只能到支付宝面板操作。商家网站可以在 refund_status 字段出现的时候,记录有退款操作发生,提醒运营人员处理退款。
集成支付宝接口最主要做的就是把用户重定向到支付页面,和处理支付宝发来的异步消息。
实例
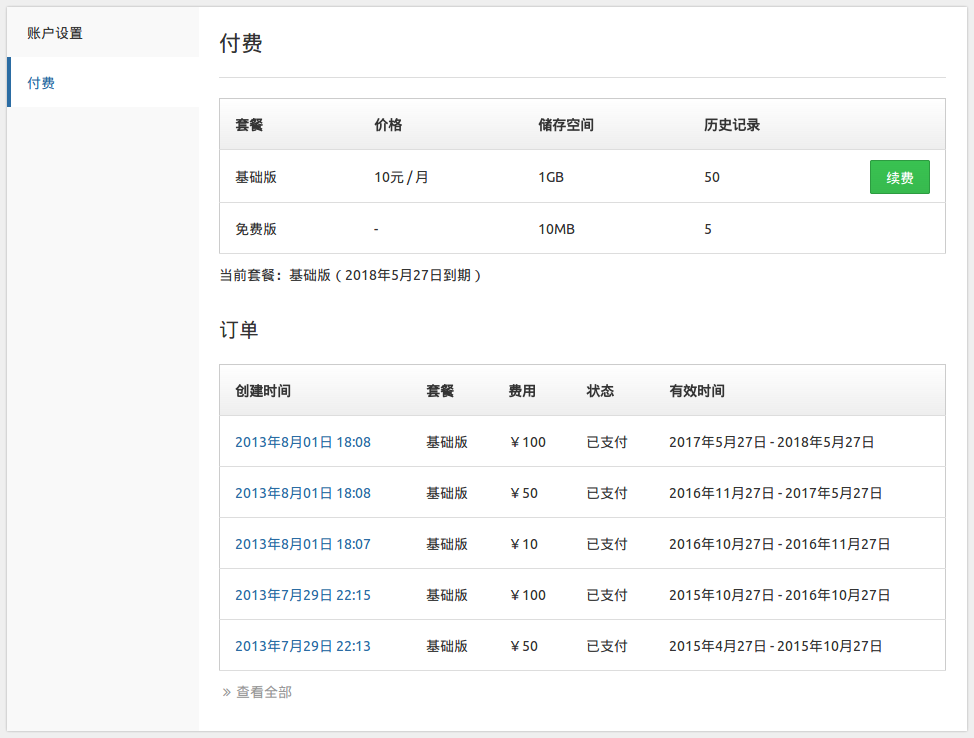
以下例子抽取自 Writings.io 中支付相关的实际代码。

申请接口权限
首先,到支付宝的商家接口页面申请相应接口权限 https://b.alipay.com ,这里使用担保交易接口。
安装 Alipay Gem
支付宝官方没有提供 Ruby SDK,而直到本文写作的时候也没有较完善的 Rubygem,所以我写了一个开源在 Github:https://github.com/chloerei/alipay 。
在 Gemfile 中加入一行:
gem 'alipay', :github => 'chloerei/alipay'
然后安装:
$ bundle
配置
创建一个文件config/initializers/alipay.rb,写入内容:
Alipay.pid = 'YOUR_PID'
Alipay.key = 'YOUR_KEY'
Alipay.seller_email = 'YOUR_SELLER_EMAIL'
安全起见,不要把 PID 和 KEY 直接提交到代码库,你可以借助 settingslogic 之类的方法把敏感信息抽取到配置文件中。
订单模型
创建一个 Order 模型,加入状态字段和状态迁移方法:
class Order
  include Mongoid::Document
  include Mongoid::Timestamps

  # 订单基本信息,我不想处理小数,所以价格字段用 Integer。如果你的交易需要精确到小数位,改用 BigDecimal
  field :plan, :type => Symbol
  field :quantity, :type => Integer
  field :price, :type => Integer, :default => 0
  field :discount, :type => Integer, :default => 0
  filed :trade_no # 支付宝交易号

  # state 字段的取值可以按照自己喜好选择,只要能覆盖支付宝交易状态的类型就行了
  field :state, :default => 'opening'
  STATE = %w(opening pending paid completed canceled)
  validates_inclusion_of :state, :in => STATE

  # 添加 paid? completed? 等方法
  STATE.each do |state|
    define_method "#{state}?" do
      self.state == state
    end
  end

  # 状态迁移方法

  def pend
    if opening?
      update_attribute :state, 'pending'
    end
  end

  # 只在 pending 状态可以 pay
  def pay
    if pending?
      add_plan # 业务逻辑,订单生效
      update_attribute :state, 'paid'
    end
  end

  # 只在 pending 和 paid 状态可以 complete
  def complete
    if pendding? or paid?
      add_plan if pendding? # 如果是 paid 状态,已经执行过 add_plan
      update_attribute :state, 'completed'
    end
  end

  # 只在 pending 和 paid 状态可以 cancel
  def cancel
    if pendding? or paid?
      remove_plan if paid? # 业务逻辑,取消订单
      update_attribute :state, 'canceled'
    end
  end
end
如果你的订单状态迁移比较复杂,可以引入 State Machines:https://www.ruby-toolbox.com/categories/state_machines 。
集成 Alipay API
在 Order 模型中添加生成支付地址的方法:
def pay_url
  Alipay::Service.create_partner_trade_by_buyer_url(
    :out_trade_no      => id.to_s,
    :price             => price,
    :quantity          => quantity,
    :discount          => discount,
    :subject           => "Writings.io #{I18n.t "plan.#{plan}"} x #{quantity}",
    :logistics_type    => 'DIRECT',
    :logistics_fee     => '0',
    :logistics_payment => 'SELLER_PAY',
    :return_url        => Rails.application.routes.url_helpers.order_url(self, :host => 'writings.io'),
    :notify_url        => Rails.application.routes.url_helpers.alipay_notify_orders_url(:host => 'writings.io'),
    :receive_name      => 'none', # 这里填写了收货信息,用户就不必填写
    :receive_address   => 'none',
    :receive_zip       => '100000',
    :receive_mobile    => '100000000000'
  )
end
order_url 和 alipay_notify_orders_url 的路由稍后添加。
由于使用担保交易,在收到用户支付的消息之后需要处理发货,否则过期后款项会退回买家。所以要添加发货的方法,在 Order 模型中加入:
def send_good
  Alipay::Service.send_goods_confirm_by_platform(
    :trade_no => trade_no,
    :logistics_name => 'writings.io',
    :transport_type => 'DIRECT' # 无需物流
  )
end
路由
添加 orders 资源路由,和用于接收异步消息的接口 alipay_notify:
resources :orders, :only => [:index, :new, :create, :show] do
  collection do
    post :alipay_notify
  end
end
控制器
下面是控制器的代码,这里只列出跟支付宝交互有关的内容:
class OrdersController < ApplicationController
  before_filter :require_logined, :except => [:alipay_notify]
  skip_before_filter :verify_authenticity_token, :only => [:alipay_notify]

  # 创建订单
  def create
    @order = current_user.orders.new order_param.merge(:plan => :base, :price => 10)

    # 订单创建成功,将用户重定向到支付页面
    if @order.save
      redirect_to @order.pay_url
    else
      render :new
    end
  end

  # 用户支付完毕后,重定向回来的页面
  def show
    @order = current_user.orders.find params[:id]

    # 友好的提示当前订单的状态
    callback_params = params.except(*request.path_parameters.keys)
    if callback_params.any? && Alipay::Sign.verify?(callback_params)
      if @order.paid? || @order.completed?
        flash.now[:success] = I18n.t('order_paid_message')
      elsif @order.pending?
        flash.now[:info] = I18n.t('order_pendding_message')
      end
    end
  end

  # 支付宝异步消息接口
  def alipay_notify
    notify_params = params.except(*request.path_parameters.keys)
    # 先校验消息的真实性
    if Alipay::Sign.verify?(notify_params) && Alipay::Notify.verify?(notify_params)
      # 获取交易关联的订单
      @order = Order.find params[:out_trade_no]

      case params[:trade_status]
      when 'WAIT_BUYER_PAY'
        # 交易开启
        @order.update_attribute :trade_no, params[:trade_no]
        @order.pend
      when 'WAIT_SELLER_SEND_GOODS'
        # 买家完成支付
        @order.pay
        # 虚拟物品无需发货,所以立即调用发货接口
        @order.send_good
      when 'TRADE_FINISHED'
        # 交易完成
        @order.complete
      when 'TRADE_CLOSED'
        # 交易被关闭
        @order.cancel
      end

      render :text => 'success' # 成功接收消息后,需要返回纯文本的 ‘success’,否则支付宝会定时重发消息,最多重试7次。
    else
      render :text => 'error'
    end
  end

  private

  def order_param
    params.require(:order).permit(:quantity)
  end
end
以上就是 Writings.io 中有关支付的代码。
退款的处理
前面的代码中并没有涉及到退款的处理,因为支付宝没有提供退款接口。
妥协的方案是,可以引导用户退款的时候联系自己,然后人工到支付宝面板操作。退款流程完成时,支付宝会发送 TRADE_CLOSED 的消息,这时候调用@order.cancel将订单取消,这已经包含在之前的代码中。
总结
对于个人开发者来说,即时到帐接口的门槛太高,不易申请,但担保交易也足够实现收费功能。证件齐全的企业就没有这个问题。
总的来说,支付宝的担保交易接口是独立开发者面对国内市场最合适的支付方式。